
Renovating your home can feel both exciting and overwhelming. Whether you are updating a single room, fixing up a rental, or tackling a full home makeover, the right equipment makes every task faster, safer, and more satisfying. This long-form guide walks you through the most important home renovation tools, how to use them safely, what to buy vs. rent, and practical workflows that help you complete projects with confidence. The language is simple and practical so you can apply these ideas straight away.
Table of Contents
Why the right home renovation tools matter
Choosing proper home renovation tools is like choosing the right shoes for a hike: the wrong pair makes the trip hard and uncomfortable, while the right pair turns work into progress. Good tools reduce mistakes, improve finish quality, and save time. Beyond efficiency, the correct tools also protect you. A sharp blade controlled by a stable saw, the right ladder for ceiling work, or a decent respirator for sanding can prevent costly injuries. Investing in a core set of tools pays off over multiple projects and years.
Core tools every homeowner should own
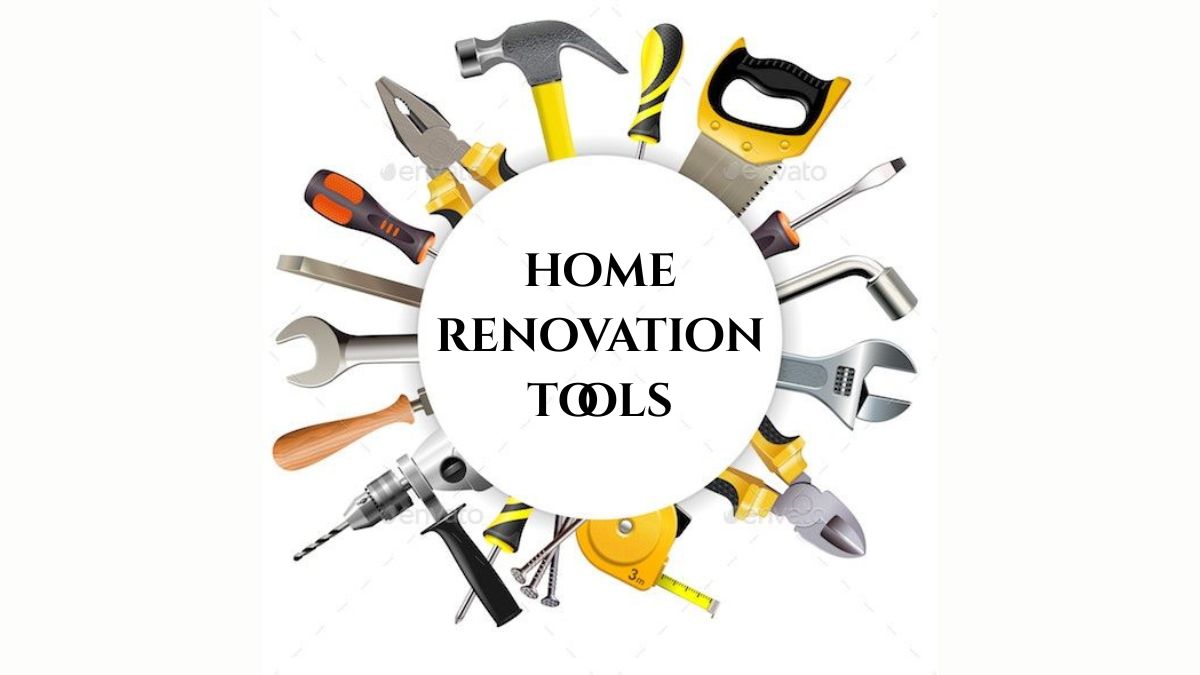
Before diving into specialized items, build a foundation of essential tools that cover most renovations. Start with a quality claw hammer for demolition and framing tasks, a set of screwdrivers with different head types for fasteners and fixtures, and a tape measure for accurate dimensions. A sturdy set of pliers, an adjustable wrench, and a combination square help with mechanical adjustments and layout. For cutting, include a utility knife and a handsaw; for drilling and fastening, choose at least one cordless drill/driver with a set of bits. Finally, keep a reliable level to ensure surfaces and installations remain true.
Table: Core tool list, primary use, and typical budget
| Tool | Primary use | Typical budget (new) |
|---|---|---|
| Claw hammer | Demolition, nailing | $15–$40 |
| Tape measure (25 ft) | Measuring rooms and materials | $10–$25 |
| Cordless drill/driver | Drilling, driving screws | $60–$200 |
| Screwdriver set | Fastening/removing screws | $15–$50 |
| Utility knife | Cutting drywall, flooring, packaging | $8–$25 |
| Level (2–4 ft) | Aligning and leveling | $15–$60 |
| Adjustable wrench | Plumbing, nuts and bolts | $10–$35 |
| Pliers (needle-nose & slip-joint) | Gripping, bending wires | $10–$40 |
Power tools that speed up renovation work
When projects grow beyond fixing a leaky faucet or painting a single wall, power tools dramatically reduce labor. A circular saw handles framing and cutting boards, while a miter saw gives accurate crosscuts for trim and moldings. An orbital sander smooths surfaces quickly, and a jigsaw cuts curves and openings for sinks or vents. For heavier trade-level tasks, a reciprocating saw is indispensable for demolition and a table saw is ideal for precise rip cuts. Choose cordless options for portability when electricity access is limited, but keep corded backup for longer continuous work.
How to choose the right power tool for you
Selecting power tools depends on the scope of your renovations and how often you plan to use them. If your projects are occasional, opt for mid-range cordless tools with a reputable battery system that offers enough runtime and cross-compatibility across devices. For frequent or professional-level work, invest in higher-end models with brushless motors for longer life and better efficiency. Prioritize ergonomics and weight, because a lighter tool reduces fatigue on longer jobs. Also consider warranty and availability of replacement parts and service in your area.
Safety gear and why it’s non-negotiable
Safety gear is part of the toolkit, not optional extras. Eye protection prevents dust and flying particles from damaging vision, while hearing protection guards against the long-term effects of loud power tools. Gloves protect hands from cuts and chemicals, but pick the right type: thin nitrile gloves for paint and adhesive work and heavy-duty leather gloves for demolition. Respirators or masks are critical when sanding, cutting, or working with materials that release dust or fumes. For overhead work, a hard hat and stable footwear with good grip reduce fall and impact risk. Always use protective gear even for short, simple tasks, because most injuries happen during routine work.
Buying vs. renting: how to decide
Not every tool is worth buying. For tools you will use many times—like drills, sanders, and a circular saw—purchase quality models. For specialty equipment used rarely, such as a tile cutter, concrete mixer, or scaffold, renting saves money and storage space. Consider the total cost of ownership when buying: purchase price, maintenance, spare parts, and storage. If you plan to renovate multiple rooms over several months, buying can be more convenient. If you need a tool for a single weekend, check local rental shops or hardware stores that offer daily or weekly rates.
- Buy tools you will use repeatedly over years because long-term usage justifies the expense and gives familiarity with the tool’s behavior.
- Rent specialty equipment for one-off tasks or large machinery where storage and maintenance would be burdensome.
- Borrow or join a tool library for occasional needs to access higher-end tools without the cost.
Workflow and project sequencing for smoother renovations
Good planning saves trips to the store and expensive rework. Start by defining the project scope and breaking the job into stages: demolition, rough work (framing, electrical, plumbing), insulation and drywall, finishing (paint, trim), and final touches (fixtures and cleanup). During demolition, have the right demolition tools and disposal plan ready so debris does not block access for the next stage. For electrical and plumbing rough-ins, use appropriate specialty tools and always follow local codes; sometimes hiring a licensed professional is the safest choice. When moving to drywall, sanding, and painting, ensure the workspace is well-ventilated and that dust control measures are in place.
Practical sequencing example: renovating a kitchen
First, shut off utilities and remove cabinets and appliances using a combination of screwdrivers, pry bars, and a reciprocating saw when needed. Next, address structural changes, framing, and rough-in plumbing or wiring with a drill and level. After inspections, install insulation and drywall, then sand and prime surfaces. Paint walls and ceilings before installing cabinets to avoid splatter on new fixtures. Finish with countertop installation and appliance hookups, using specialized tools only when necessary. This sequence prevents rework and keeps tradespeople efficient when they arrive.
Maintenance and storage of tools for longevity
Treat tools like investments. Clean blades and bits after use, keep batteries charged and stored in a cool, dry place, and lubricate mechanical parts where recommended. Replace worn blades and drill bits to keep cuts clean and reduce motor strain. Store tools in a dry toolbox or garage cabinet to prevent rust. For larger power tools, periodic tune-ups and checking for loose screws and damaged cords are essential for safe operation. Label storage containers and keep a simple inventory list so you can quickly find the right home renovation tools for the next job.
Cost-saving tips and buying smarter
You do not need to buy the most expensive tool to get good results. Compare features like motor power, warranty length, and included accessories. Look for combo kits from reputable brands that include a drill, driver, and batteries; these often have better value than buying each tool separately. Buy replacement blades and bits in bulk for lower unit cost. When shopping, read reviews focused on long-term reliability rather than only initial performance. Finally, consider second-hand purchases for infrequently used hand tools, but inspect condition carefully to avoid hidden wear.
Table: When to buy, rent, or borrow
| Tool type | Buy | Rent | Borrow |
|---|---|---|---|
| Drill, sander, circular saw | Yes for regular use | Only if occasional and high-quality needed | Good for one-off tasks |
| Tile cutter, scaffold, concrete mixer | No, unless frequent projects | Yes | Rarely available to borrow |
| Specialty plumbing/electrical tools | Buy if you’ll do plumbing/electrical often | Rent for complex one-time jobs | Borrow from skilled friends |
| Large demolition equipment | No | Rent | Not recommended to borrow due to safety |
Eco-friendly choices and material considerations
Choosing energy-efficient cordless tools and recycling old batteries reduces environmental impact. When possible, source reclaimed wood and salvageable fixtures to cut waste and add character. Use low-VOC paints and sealants to improve indoor air quality, especially important during renovation phases when occupants may still live in the home. Proper disposal of hazardous materials like old paint, solvents, or asbestos-containing materials is crucial and often required by local regulations.
Common mistakes to avoid
One common mistake is rushing into buying the cheapest tool, which often fails when you need it most. Another is skipping safety gear to “save time” — small savings are not worth the risk of injury. Don’t underestimate prep work; poor planning leads to costly changes later. Finally, avoid trying complex electrical or structural work without experience—hire professionals when in doubt to meet code and ensure safety.
Final thoughts
Home renovation tools are an investment in capability, quality, and safety. A thoughtful approach to selecting, using, and maintaining tools lets you tackle renovations with pride and fewer headaches. Whether you are changing a kitchen, redoing a bathroom, or refreshing flooring, the right set of home renovation tools transforms ideas into durable, beautiful results. Start with the essentials, learn safe techniques, and expand your toolkit as your skills and projects grow. With patience and the right equipment, home renovation becomes not just a chore but a rewarding creative process.
Frequently Asked Questions (FAQs)
What are the absolute must-have home renovation tools for beginners?
Beginners should focus on a hammer, tape measure, cordless drill/driver, set of screwdrivers, a utility knife, a level, and basic safety gear including goggles and a dust mask. These tools let you handle demolition, measuring, cutting, and basic installations.
How do I know whether to buy or rent a specific tool?
Decide based on frequency of use, storage space, and budget. Buy tools you will use repeatedly over several projects. Rent for one-off or specialized jobs where purchase price and maintenance would be impractical.
Are cordless tools as reliable as corded ones?
Modern cordless tools are very reliable for most renovation tasks and offer portability. Corded tools often deliver continuous power for long runs and heavy-duty jobs. Choose cordless for convenience and corded for extended heavy workloads.
What safety gear is essential when renovating?
Safety glasses, hearing protection, gloves suited to the task, and an appropriate respirator or dust mask are essential. Use a hard hat for overhead work and slip-resistant shoes for ladder work.
How should I maintain my tools to make them last?
Clean and dry tools after use, sharpen or replace blades regularly, charge and store batteries per manufacturer instructions, and perform periodic inspections. Store tools in a dry, organized space to prevent rust and damage.
Can I learn to use power tools on my own?
Yes, many resources teach safe power tool use, including manufacturer manuals, community workshops, and online tutorials. Start with small projects, practice proper safety precautions, and consider supervised practice or a basic workshop course before tackling complex tasks.